In your [VerifyYou dashboard](https://platform.verifyyou.com/dashboard/verifications), if you already have a verification you want to use, skip to step 2.
1. Click **New verification** and pick your check. [Creating a verification](/docs/verifications/creating-a-verification) walks the wizard, and [Configuration](/docs/verifications/configuration) explains each setting.
2. Choose **No code** when the wizard asks how the check will reach people.
3. Add your logo and company name so the check carries your brand. [Branding your check](/docs/verifications/branding-your-check) shows what each part controls.
4. Continue through to **Integration**.
You now have: a live verification, branded as yours.
On the verification's **Integration** tab.
1. Click **Switch method** and choose **Existing users**.
2. Set where people land after they verify, under **Lands on**, with **Edit**. If you leave it unset, people see the default finish screen.
You now have: the import view, ready to take your list.
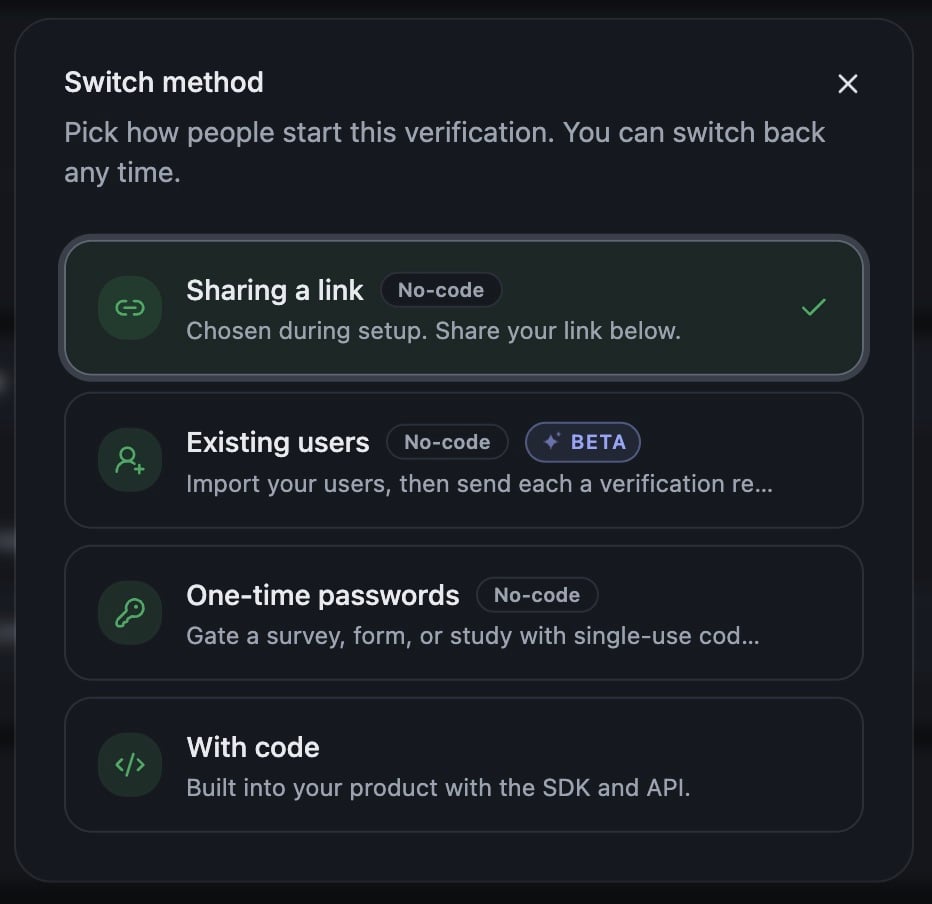 In the **Add people** panel on the same tab.
1. Paste your list, or click **Upload CSV**. Whole spreadsheet rows are fine, with or without a header: we work out which column holds the email and keep anything else useful on the row, like an IP address, so you can compare it against what we see when they verify.
2. Click **Add people**.
Each person you add gets a verification link locked to their address. Adding people never sends anything, so you can build the list over several sittings and send once, when you are ready.
In the **Add people** panel on the same tab.
1. Paste your list, or click **Upload CSV**. Whole spreadsheet rows are fine, with or without a header: we work out which column holds the email and keep anything else useful on the row, like an IP address, so you can compare it against what we see when they verify.
2. Click **Add people**.
Each person you add gets a verification link locked to their address. Adding people never sends anything, so you can build the list over several sittings and send once, when you are ready.
You now have: your people imported, each with their own locked link, and nothing sent.
Under **Recently added**, click **View all** to open the verification's **Activity** tab.
1. Click the address shown in the header, next to **Send unsent**. The **Senders** panel opens.
2. Add your address with **Add sender** and confirm it. When it reads **Confirmed. Ready to send**, you can send.
3. To send from your own domain, publish the TXT and CNAME records shown under **Your own domain** with your DNS provider, then click **Re-check**. Each record flips to **Live** once it is seen. You can send before the records are live, and having them in place keeps your invites out of spam, so plan this in before a large batch.
You now have: a confirmed From address your invites will leave from.
On the **Activity** tab, with your people listed.
1. Select the people to invite, or use **Send unsent** to reach everyone you have not contacted yet.
2. Click **Send**. The dialog shows who is getting it and the address it leaves from.
3. Pick the message under **Message**: **Initial invite** for a first ask, or the re-verification message for people you are inviting back. **Edit** opens the copy so you can make it yours.
4. Confirm the send.
We host the sending, so there is no mail system on your side to wire up. Each row on Activity then shows sent, opened, clicked and verified as people come through, and [Reading Activity](/docs/activity/reading-activity) covers what to do with what arrives.
You now have: invites out, and results arriving on Activity as each person verifies. That's the whole setup.