

Create your verification
- Click New verification and pick your check. Creating a verification walks the wizard, and Configuration explains each setting.
- Choose No code when the wizard asks how the check will reach people.
- Add your logo and company name so the check carries your brand. Branding your check shows what each part controls.
- Continue through to Integration.
You now have: a live verification, branded as yours.
Switch the method to Existing users
- Click Switch method and choose Existing users.
- Set where people land after they verify, under Lands on, with Edit. If you leave it unset, people see the default finish screen.
You now have: the import view, ready to take your list.
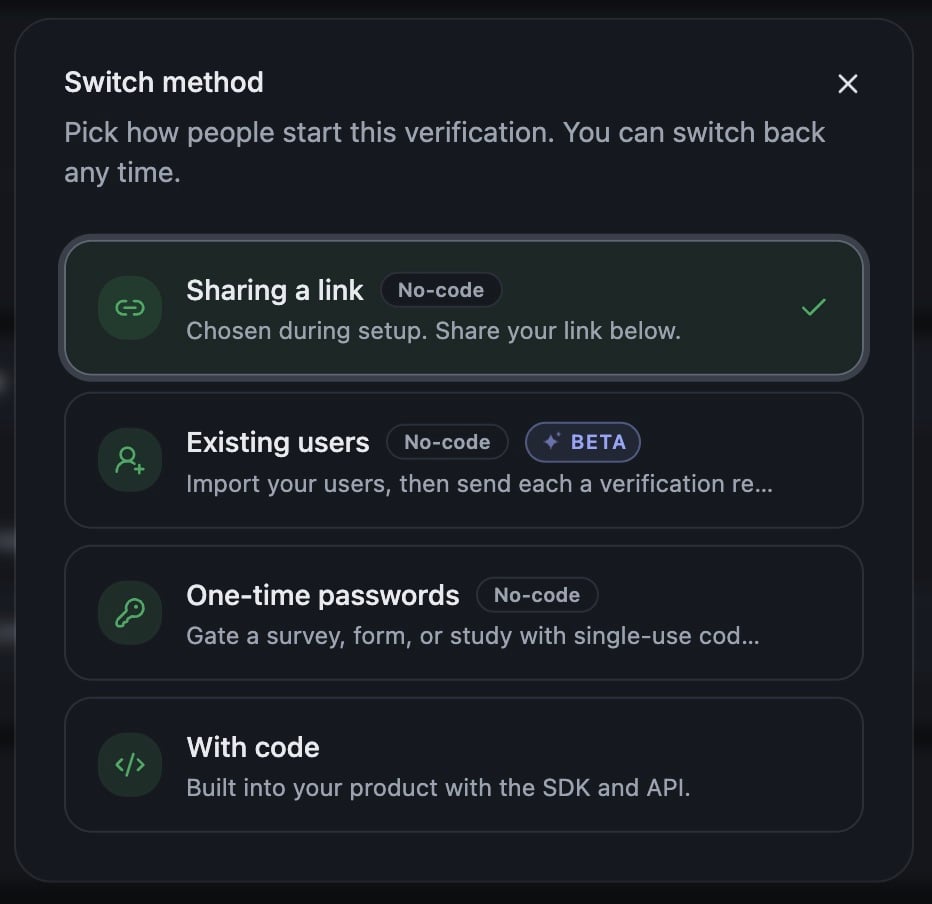
Switch method: pick Existing users. You can switch back any time.
Add your people
- Paste your list, or click Upload CSV. Whole spreadsheet rows are fine, with or without a header. The panel reads your list and tells you how many people are ready to add.
- Click Add, which carries the count of people you are adding. Map columns opens before anything comes in.
- Check the four fields at the top: Email address, then IP address, Impact figure and Date for the figure, each marked optional. We match your columns to them automatically, and each match is a dropdown, so if we guessed wrong you point it at the right column yourself. Only email is required, and the import runs with the others unmapped.
- Everything else in your file sits under Extra data, saved to each person’s record with a type on each column: currency, date, number, text. Tick a column under Select columns to leave out to skip it this time. Import whatever you would want to compare later. An IP address you hold comes back beside the one we see when that person verifies.
- Check the count at the foot of the dialog, importing so many critical fields and so many extra columns, then click Confirm mapping. Rows with no email are skipped and counted, and empty cells stay empty rather than being filled in for you.
You now have: your people imported, each with their own locked link and your extra columns on their record, and nothing sent.
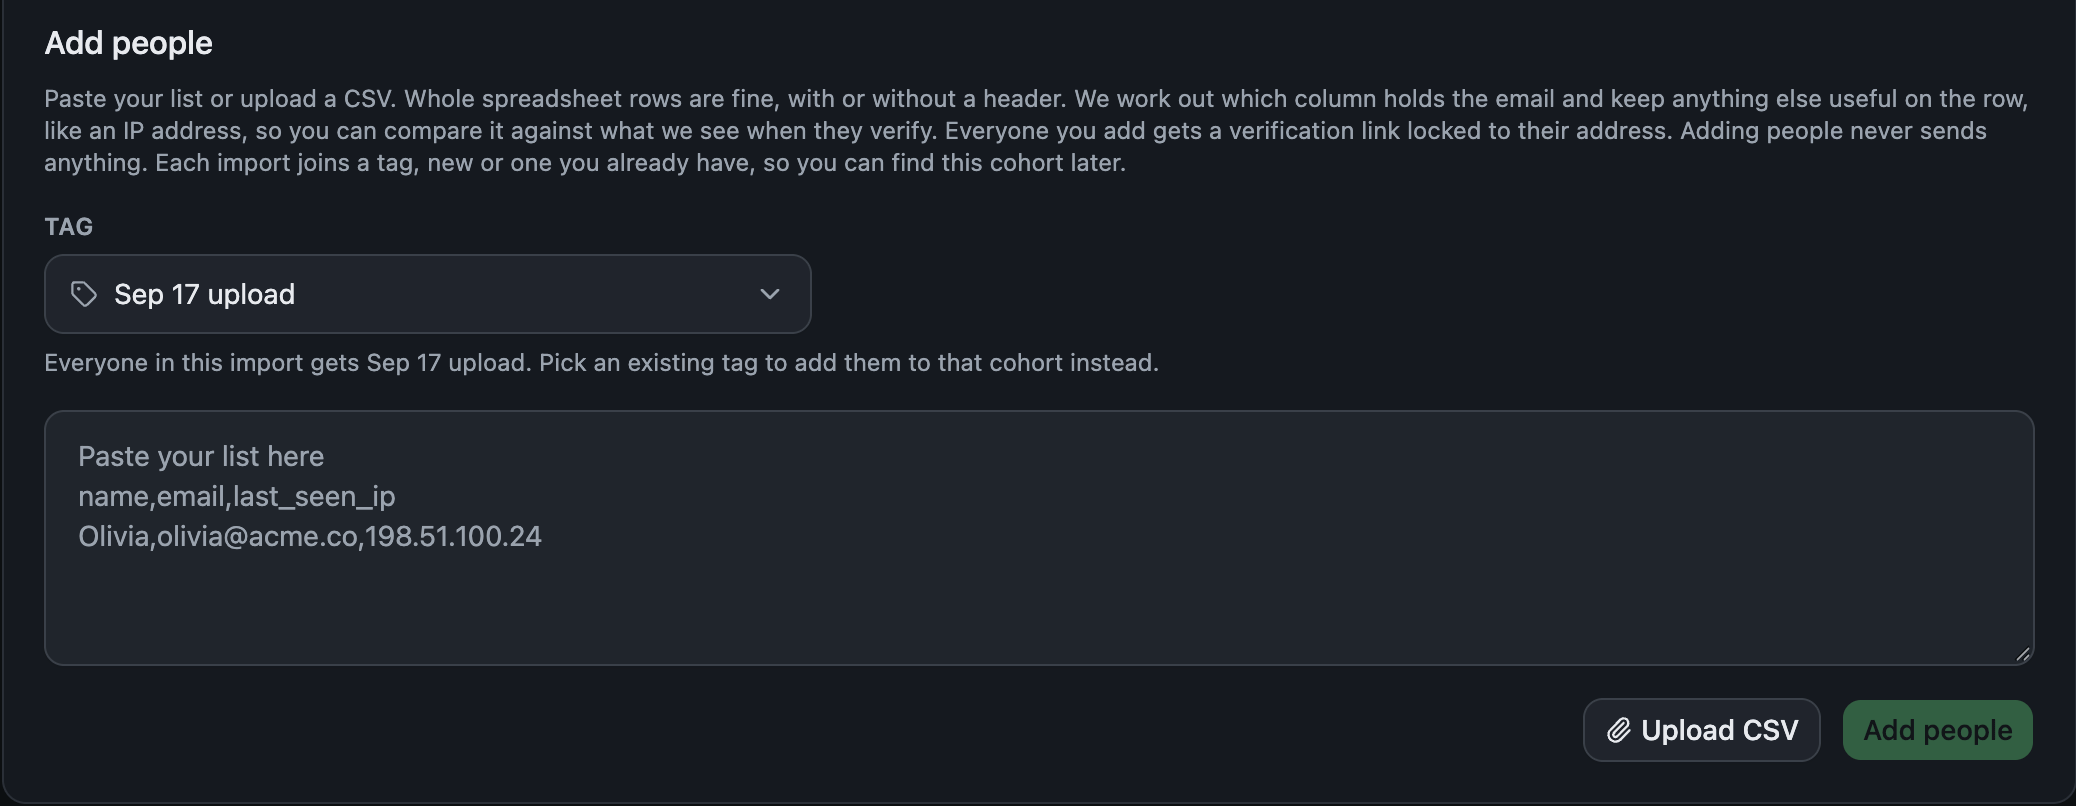
The Add people panel on the Integration tab. Paste whole rows or upload a CSV; nothing sends at this stage.
Link the address your invites leave from
- Click the address shown in the header, next to Send unsent. On a workspace with no address linked yet, the tab offers Add a sender instead. Both open the Senders panel.
- Add your address with Add sender: the From address, a display name, and an optional reply-to. We email the address a confirmation link, and nothing sends from it until someone clicks through. When it reads Confirmed. Ready to send, you can send.
- To send from your own domain, publish the TXT and CNAME records shown under Your own domain with your DNS provider, then click Re-check. Each record flips to Live once it is seen. You can send before the records are live, and having them in place keeps your invites out of spam, so plan this in before a large batch.
You now have: a confirmed From address your invites will leave from.
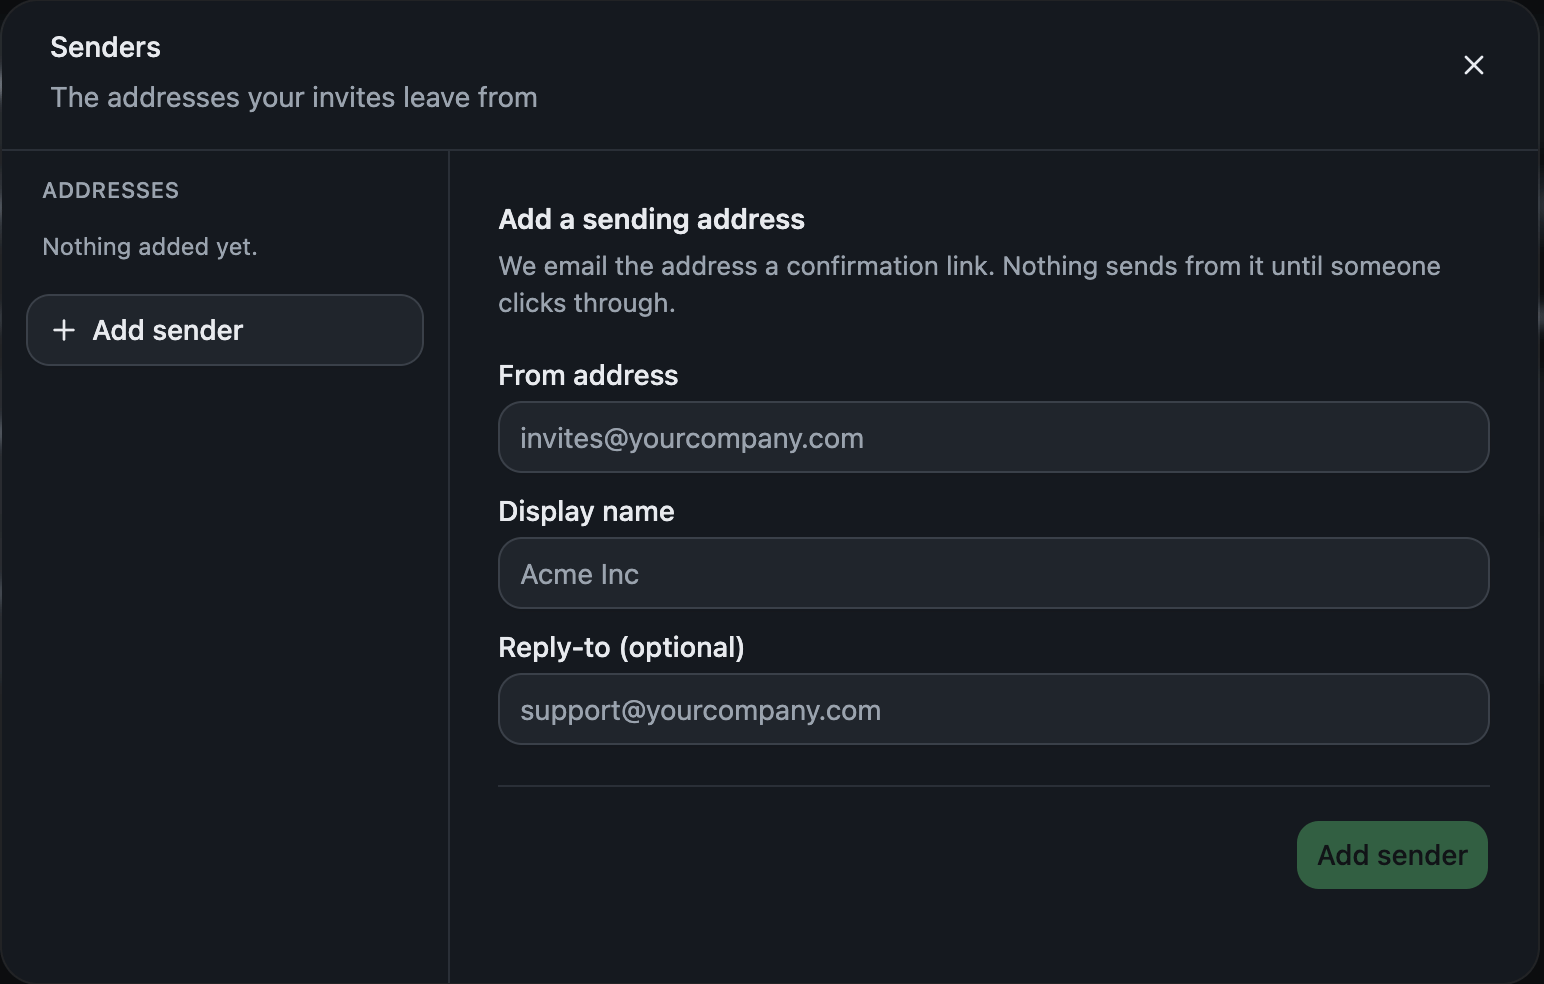
Adding a sending address in the Senders panel. We email it a confirmation link before anything can leave from it.
Set up your message, send, and watch the results come in
- Click Message in the header to set up what your invites say. Two templates live here: Initial invite for people who have not verified yet, and Re-verification for people you are inviting back.
- Edit the subject and the body until they read as yours, then save. Verification link drops the link into the copy, and each send turns it into the personal locked link of whoever receives it. Saved changes apply to future sends, not to invites already out.
- Select the people to invite, or use Send unsent to reach everyone you have not contacted yet. The button shows how many people that is.
- Click Send, check the dialog, and confirm. It shows who is getting the invite, the address it leaves from, and the message, with one more chance to edit it.
You now have: invites out, and results arriving on Activity as each person verifies. That’s the whole setup.