

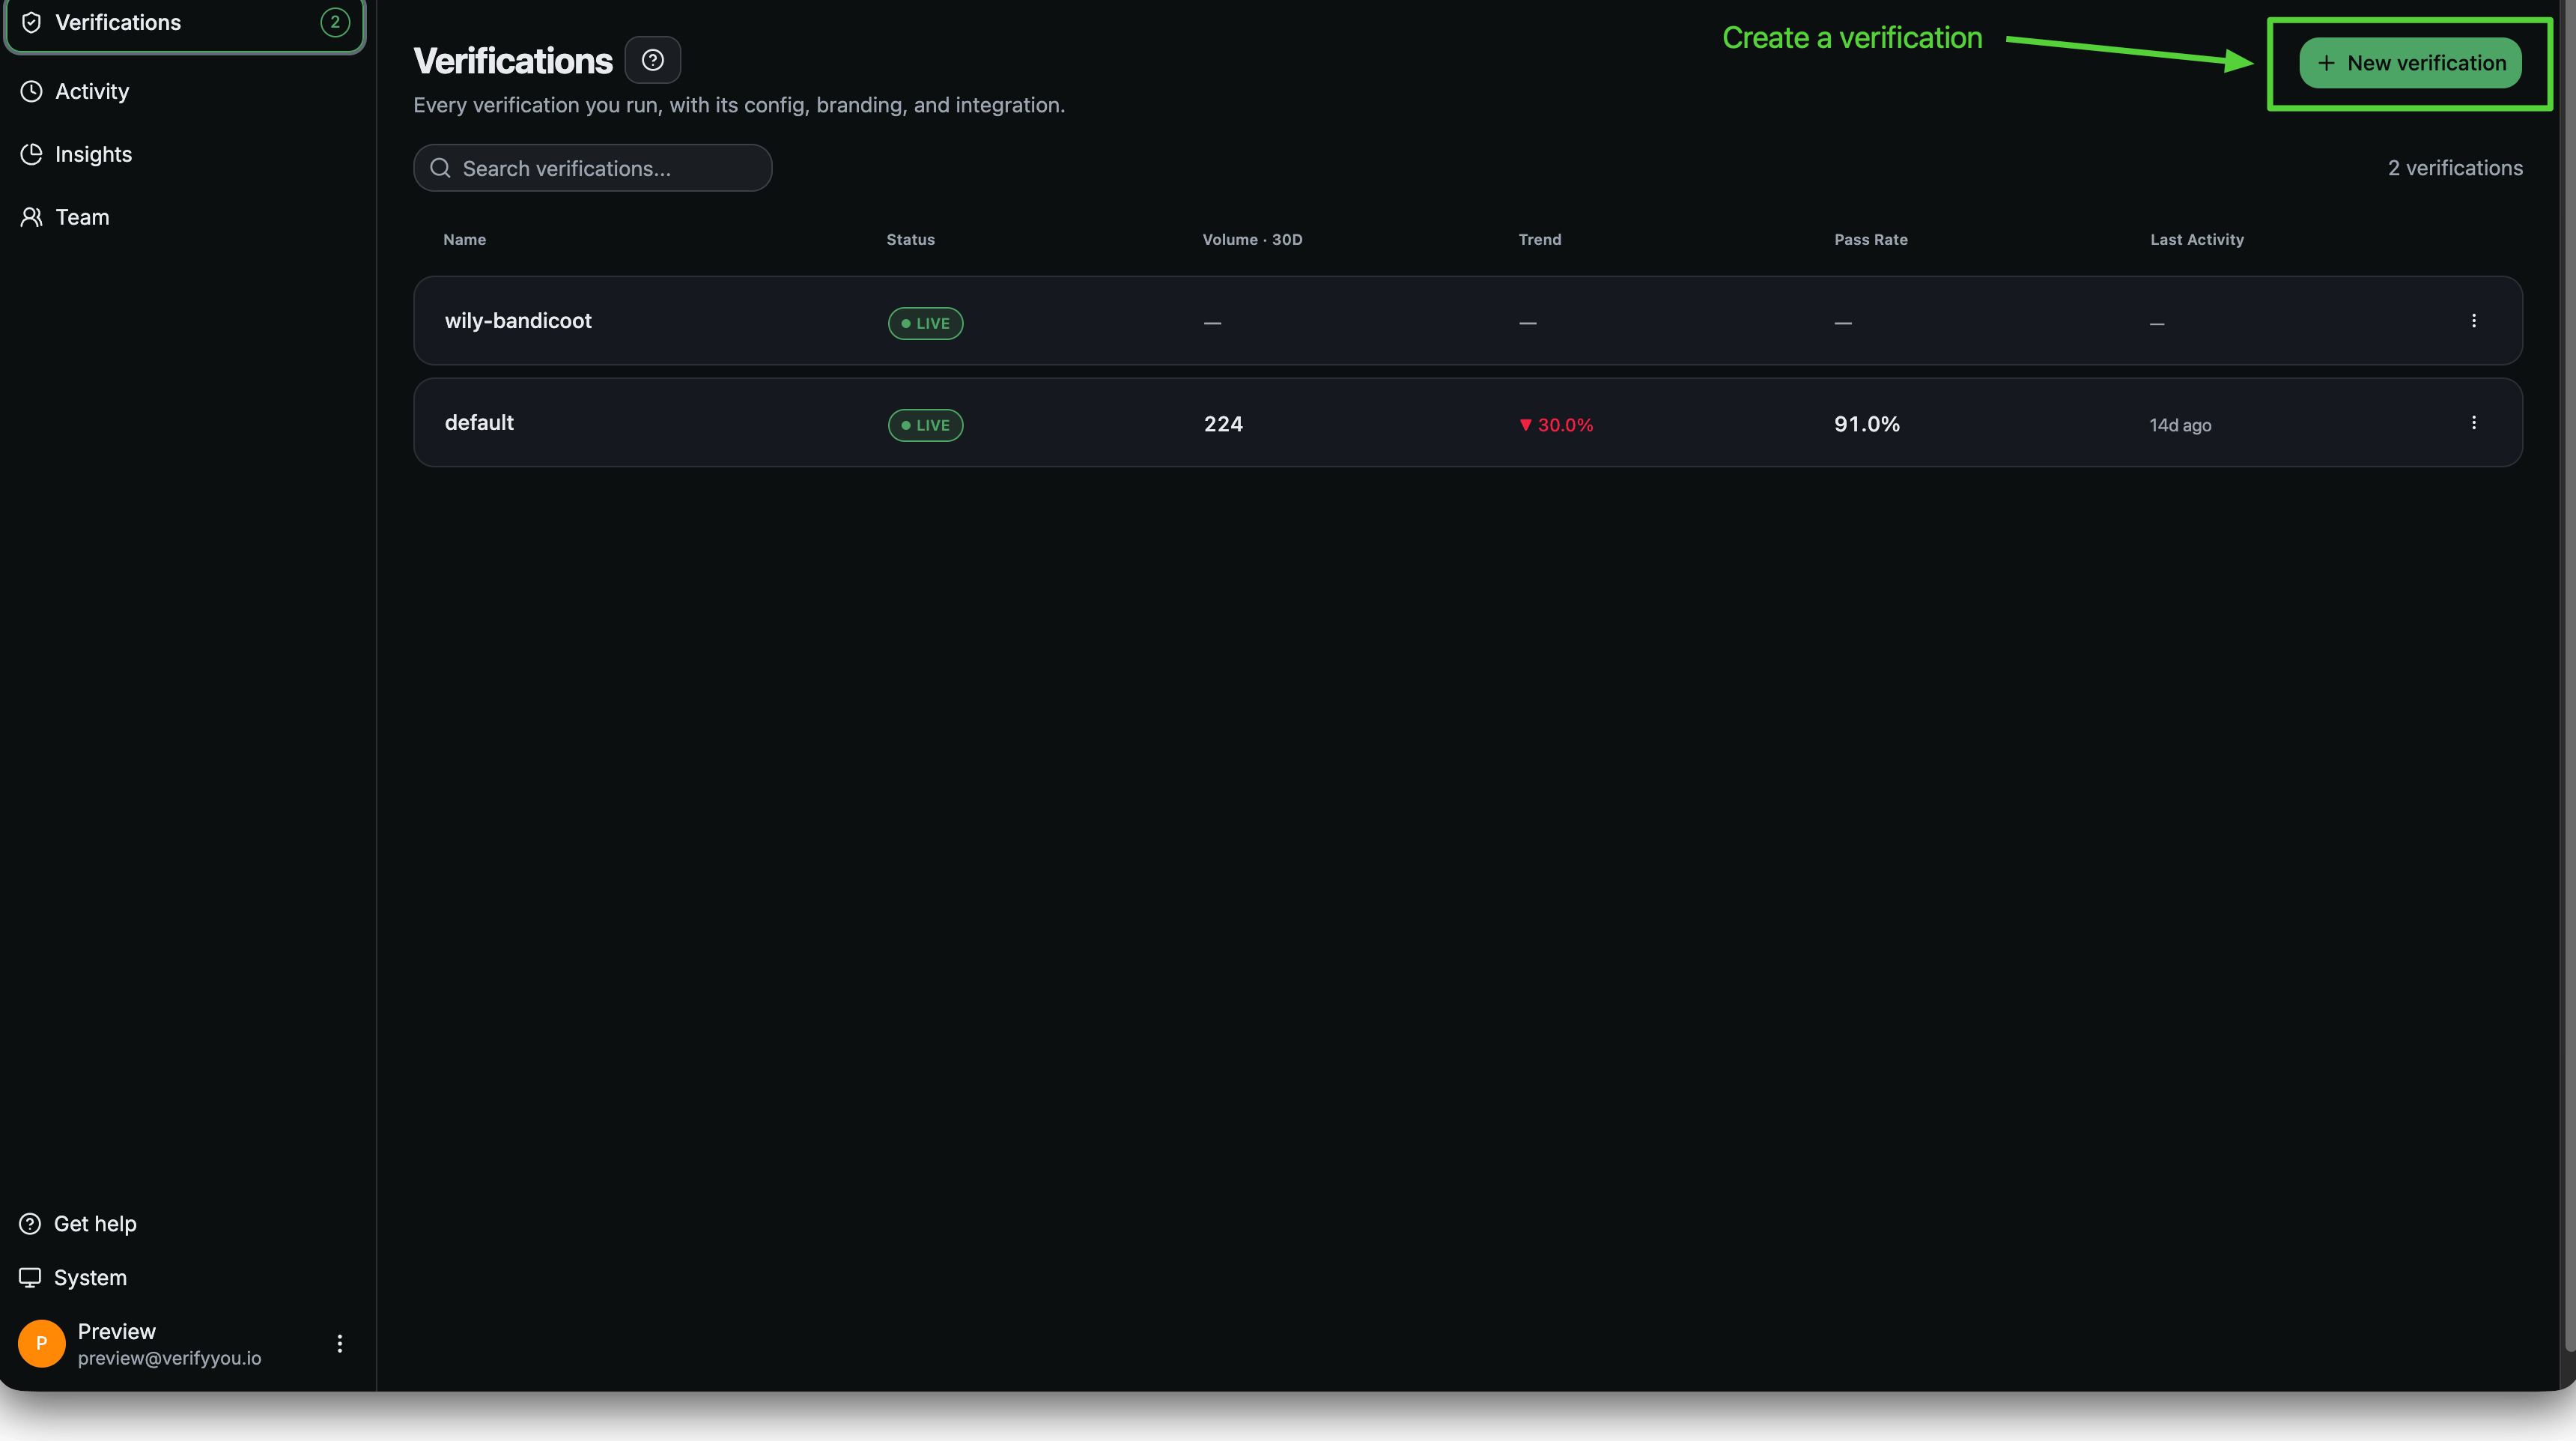
The Verifications page. New verification, top right, starts the wizard.
1
Get started
A short orientation to what you are about to set up. Nothing to fill in, so click through it.
2
Pick your check
Choose a preset: Signup Gate, Account Sweep, AI Data Labeling Fraud Audit or Build Your Own. Then choose your integration method, No-code for a link you share, or Code for the SDK.
3
Branding
Company name, which people see as “Verifying you for [name]”. A logo is optional. See Branding your check.
4
Tune your check
We make tuning the check for your use case easy with Configuration, which sets how the check behaves: Can the same human pass twice? Do returning users under a different account get allowed, blocked, or flagged for your team’s review? Do you tie each human to an email, phone number, or neither?Questions like these all have a simple solution. Book a demo to walk through this with our team.
5
Integrate
No code or code, based on your resource allocation and your use case. No code gets you started with zero developer effort, so you can prove value early without interrupting your roadmap. See Integration.