

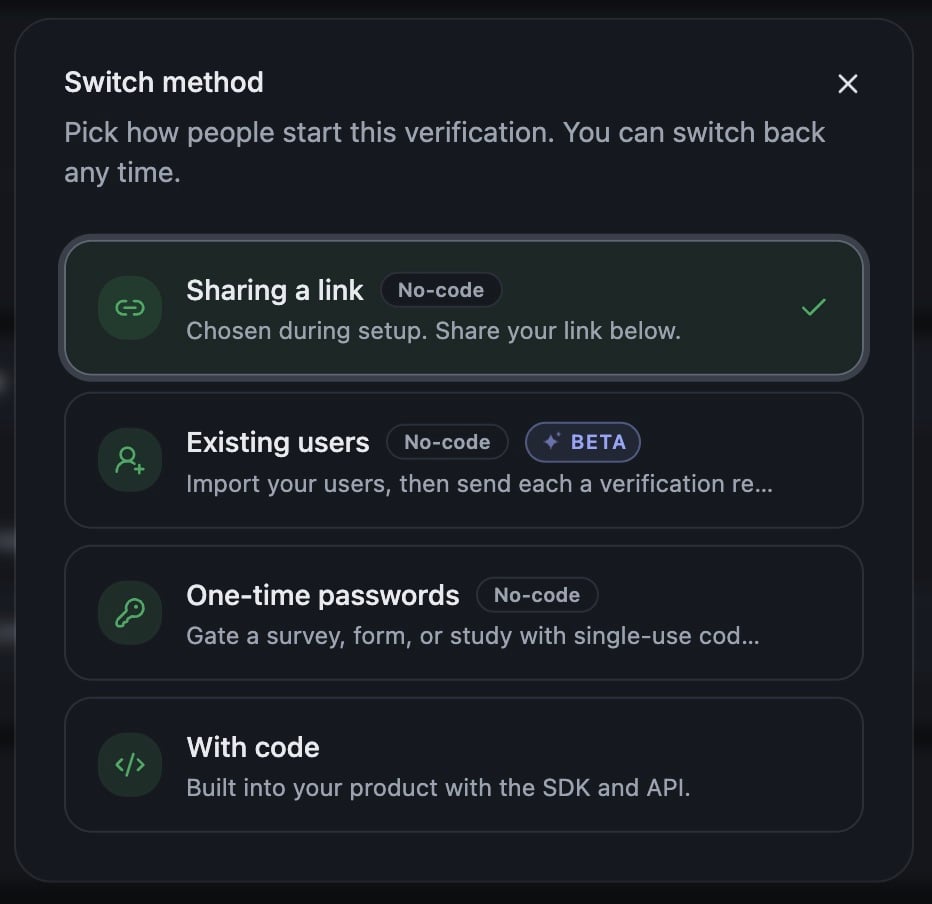
Switch method, with all four options.
The three no-code methods
No code gets you started with zero developer effort, so you can prove value early without interrupting your roadmap. Sharing a link. Every verification has its own link in the dashboard. Copy it and put it wherever people already go: the button on your signup page, an invite email, the top of a survey. Somebody who opens it takes the check on our hosted page, and lands wherever you set under Where people land. Nothing to build, and no change to your own code. Existing users (BETA). Import the people you already have, then send each of them a verification request. Paste a list or upload a CSV, and we work out which column holds the email. Everyone you add gets a link locked to their address. Adding people sends nothing. You send from the verification’s Activity tab, and we host the sending, so there is no mail system to wire up. Each row then shows sent, opened, clicked and verified. Sending from your own domain needs DNS records in place first, so plan that in before a large batch. The records to add are in the Senders panel on the Activity tab, next to the address your invites leave from. This is the simplest no code method behind Userbase healthcheck, and Send verifications by email walks the flow end to end. One-time passwords. A single-use code in front of a survey, form or study, one per person, each good once. One-time passwords has the setup for four platforms.With code
The check runs inside your own product with our SDK, and your server confirms the result before you act on it. Attach your ownexternal_id and every result comes back tied to the user record you already keep, which is what makes an export reconcile against your own tables.
Sessions are minted on your server with a secret key, sk_test_ or sk_live_. Test and live are separate partitions and cannot be mixed: a session from one reads as nonexistent under the other, so you can rehearse the whole path before a real person takes it.
Three ways to place it, all through the SDK:
- Redirect. We host the whole flow and send the person back to your
redirect_urlwith the token on it - Drawer. Slides over your page: a bottom sheet on mobile, a side panel on desktop
- Inline. Mounts inside your own element, like an embedded video
Developer documentation
Everything below lives at docs.verifyyou.com, which is the reference your engineers work from.Start a session
Mint a session on your server with your secret key, then hand the id to the front end.
Placing your check
Redirect, drawer or inline, with the trade-offs of each.
Handling results
Confirming server side, and what to gate on.
Server API
Initialize, confirmations, lock, lookup, and return URL parameters.
Browser SDK
vycheck, vyget, init, VyResult and the error list.
FAQ and changelog
What changed, and the API change policy.